Pages

Saturday, August 13, 2016

Biggest Transformation Yet

Our house turned from a one bedroom into a legal two bedroom after adding an extra room in the basement!  We did not know when we submitted paperwork and began building walls, that within 2 years it would turn into our little girl's room.

BEFORE:

DURING:


AFTER:


Butterflies were an obvious choice for the handmade mobile and wall art :)  The barn door and picture frame came from a salvaged barn in NE.  Jesse took the mountain picture and built the book shelf (what a handy man!).  I refinished the dresser and rocking chair thrift store finds.  We put beetle kill on the far wall to level out the sloped edge and found the perfect verse to place on the wall for Elly Joy.  

"The Lord has done great things for us, and we are filled with JOY."             ~ Psalm 126:3

Monday, August 8, 2016

The Attic: making use of every space

Our attic has turned into our movie loft / spare bedroom / office space ...all while still serving as a wonderful storage space behind dormer doors and a roll away book shelf.  We LOVE it up there and it brings us back to our travels and adventures :)

BEFORE: (looked like your typical attic... dirty and full of insulation)  


AFTER:

travel collection

Hidden storage behind bookshelf

couch/ twin size bed

All the insulation is on the walls and ceiling instead of the floor for warmth in the winter and we have a vent that can be opened in the summer to help with air flow.  The floor was leftovers from the laundry area and we installed carpet squares to finish off the look.  I am a big fan of our new space!!

The Yard

Since moving into our little mountain home, the yard has been a continuous process...

We have landscaped...


We built a log bench...


We put up the arch my dad built when we got married and created the stone path to bring our little Ellyse home...

 
April 20th 2016


Sunday, March 20, 2016

The Kitchen

The kitchen Renovation is almost complete...and its a good thing too because this week we hit 36 weeks!!


The kitchen marks our fastest and smoothest reno yet.  Thank goodness for a wonderful community of Estes friends and a trip from mom Williams.  The kitchen would be no where near completion without all the helping hands. 

Tuesday, November 17, 2015

Laundry Room Oasis

Bah!  It might take 10 time longer than we had originally thought to complete our mountain home, so the pics might be far in between, BUT...

Here is our Laundry Room at the bottom of the stairs off the kitchen.   Little, but SWEET.  Gets the job done...and it is actually sort of fun to do laundry. 

small room= hard to get good pics 

Much better than the old ones


Of course like all things we tried to stay to our budget which means CHEAP as possible

Floor= Great deal from Co-Worker's gargage
Bamboo Blinds= Ma Barry's donation
Paint= $3 a gallon sale and local hardware store
Railing= FREE log from Forest (sanded and refinished) 
Rug= Birthday Gift card from Mom Williams
Washer and Dryer Set=  Well we did have to splurge on that one :)  But with coupons and sales we were able to knock a good chunk off the price

*** Now the DOOR you can't see very well in the first pic was a $20 find from Uncle Benny's in Loveland, BUT what is better than the door is what is behind the door...

We added a second bedroom in the basement which I have yet to reveal photos of because it is still a work in progress of becoming BABY WILLIAM'S ROOM (APRIL 2016)!! 

Monday, June 15, 2015

TEAM WILLIAMS


Team Williams can do anything they set their mind to.

Like hand-crafting this sweet shoe-rack/ end table / bench from logs we found laying around...

 
And with our helpful side kick, Bella the cat...
 
 
There is no stopping us...
 
Currently we are working on adding a 2nd bedroom to the basement, stripping wall paper in the living room, and landscaping in the yard, including putting up a new fence... pics (hopefully) will come shortly.


1930's original wood floors

I LOVE our wood floor upstairs, which is a good thing considering the months it took to finish.


Blurry picture...but best pic I could find to show
off our BEAUTIFUL wood floors
If we would have know, we probably would have put in new floors instead of refinishing the old ones.  What we figured would have been a relatively easy project:  sands, stain, and seal...turned into a nightmare.

We sanded with a hand held sander- got nowhere

We rented a professional sanding machine- barely made a dent and spent a fortune on sand paper

We used chemical stripper- finally started seeing progress

We sanded again by hand hour upon hour


Dust, Dust and more dust
Happy the project is finished
and I can keep up with
cleaning house!

 
It took 3ish hrs. to sand each board...if not more.  There are 40 something boards upstairs.  You do the math :) Every time I go upstairs I admire the floor..it was probably worth it. 


Sunday, April 19, 2015

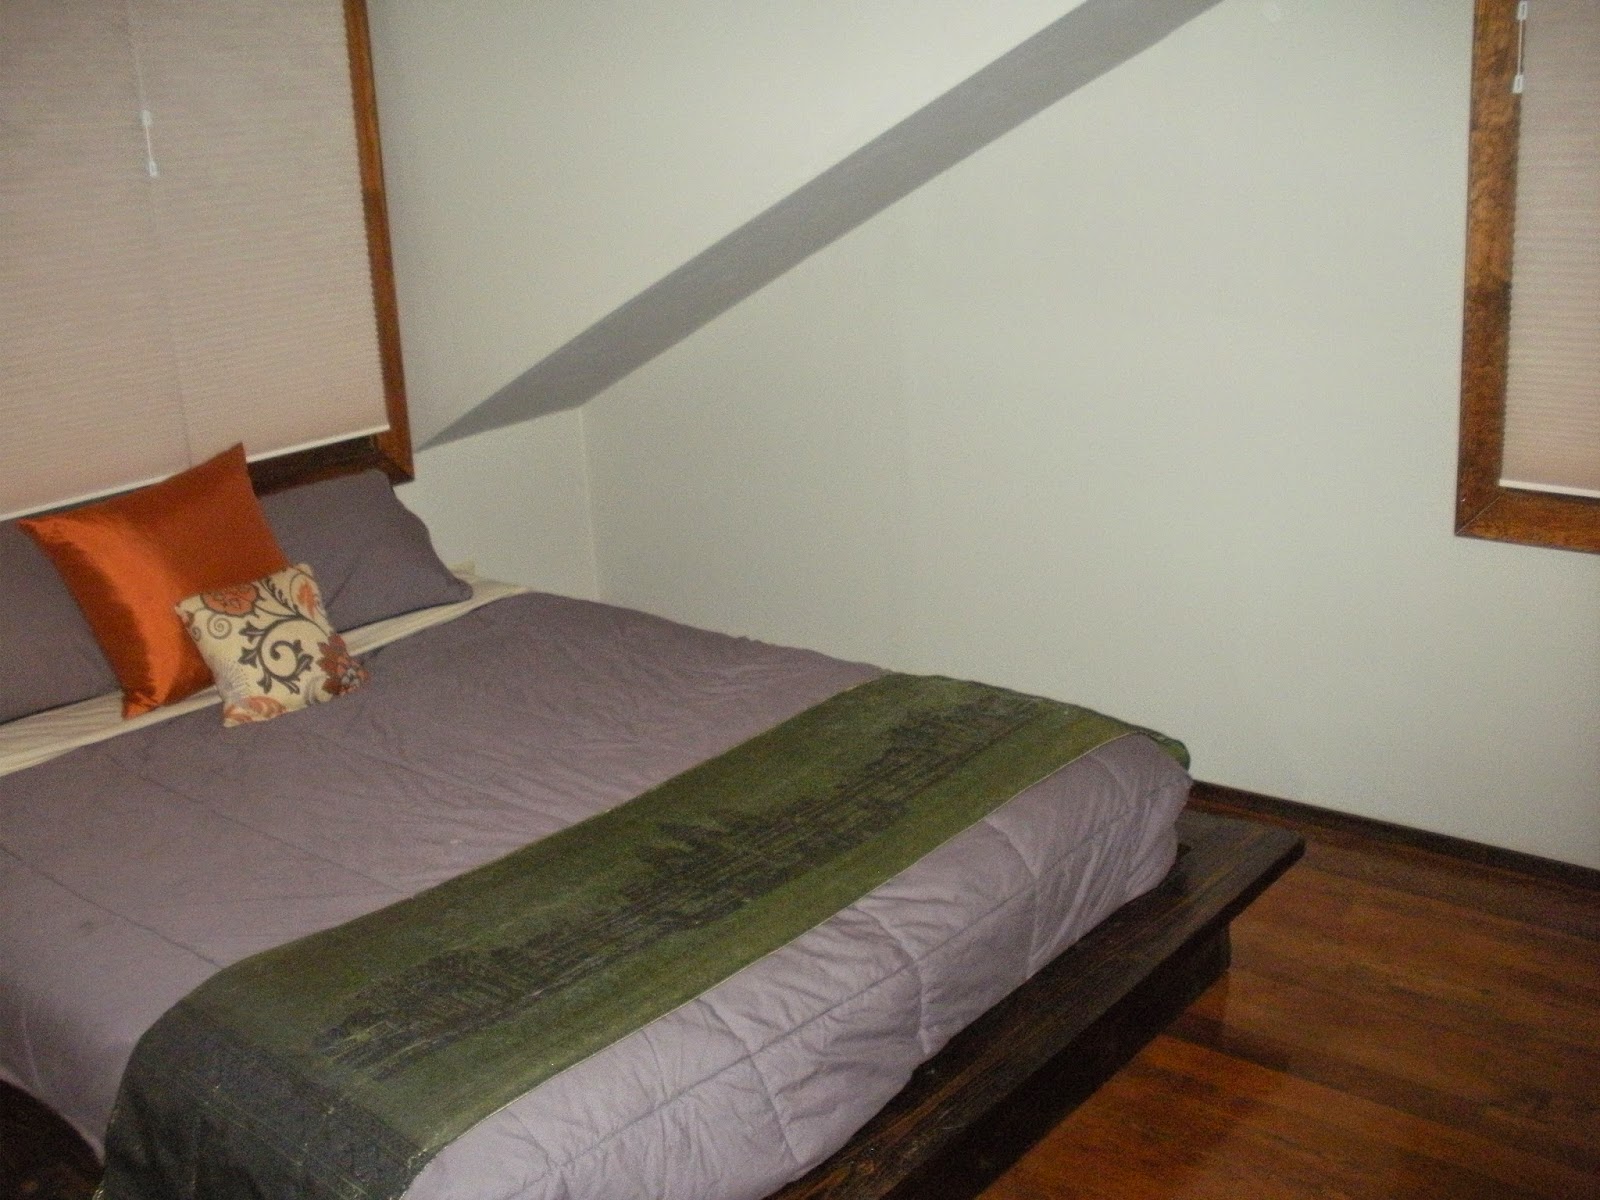
Platform Bed

When the box spring to our queen mattress wouldn't fit upstairs without knocking out the wall, it didn't take long to decide to make this  platform bed I saw on pinterest  http://www.shanty-2-chic.com/2014/08/easy-diy-platform-bed.html


The lady off the blog made her platform bed for around $55.  Jesse tore apart the box spring and used the wood inside to build a good portion of the bed so it helped keep us under that number.

Here is the finished product... (after two tries)
I sewed up the small pillow
after finding some leftover
fabric at our local thrift store


This was my first staining project and I majorly failed the first attempt. 
Note to self:  always follow directions on the back of the stain can...it knows more than I do
 
Jesse now refers to me as stain master.  I do not  quite live up to that title, but I have gotten  better and now have a fuller understanding of the ways of stain.  It is fun learning new things and as a result we are in the midst of building some pretty good looking projects.  Dare I say, we are actually starting to figure out this whole renovation thing.


Friday, April 17, 2015

Rock Wall, You Rock

My favorite project and favorite part of the bedroom is the ROCK WALL!  We are so happy with how it turned out and it went relatively smooth compared to the rest of the bedroom.


Laying out the dimension of the wall in the garage
 so we can cut rock to fit

The fake rock was reclaimed off of a house for a little under $3.00 a square foot.  The closet doors were bought from our favorite store, Uncle Benny's for $40. 


Look!  I'm mortaring!  Oh the skills we have learned
Making cement


We love reusing things.  It brings me joy knowing that we are keeping things away from the dumpster and saving $ while doing so. 

 
Last summer Jesse took the picture from on top
of the Tundra.  We used Grandma Schliep's love
gift to turn it into a canvas...perfect spot for it


Even Bella is happy with our decision

Sunday, April 12, 2015

Bedroom Renovation

Jesse and I both agreed our first big project would be our basement. We wanted to add in a second bedroom and nice place for our guests.  Well, after permits got in the way, we decided to tackle our master bedroom instead and shortly start on the basement.

We envisioned it would be a quick project... yeah right. 

Here is a good rule of thumb:  When doing home renovation projects, the amount of time you think a project will take, multiply by 3.  Even then, you will be lucky if you can finish on time.

Jesse and I had a crazy thought that we could finish by Thanksgiving, then Christmas, then shot for when my sister got here in February.

Well, it took until now, but no more sleeping on the living room floor for us! :) 

BEFORE


 AFTER


BEFORE
 

AFTER
 
BEFORE... sort of (forgot to take a pic at the very beginning)


AFTER
 
 
It is not completely finished, but we are happy with it.  I am not sure anything in the house will ever be completely finished :) 
 
Keep reading for future blogs (hopefully soon) of how we put up the rock wall, finished the floors,  made our awesome platform bed, and insulated EVERYTHING.  It was hard work, but paid off. 
 
Now onto the basement...


Monday, December 8, 2014

The little things

 
 Sometimes it is the little things that make the biggest difference...

 
Time to take down this old, broken, dirty blind...


and walah!  How beautiful is this old door!  Why would you cover it?


For under $10 we bought a sheer curtain panel and rods to hang it up.  Not a bad price to completely change the look of our door.  I think typically the curtains hang on the inside of the door, but I decided I didn't want to cover up all the glass so hung them between the screen door on the outside...might have to wash them more often, but I am happy with the look!
 
 
UPDATE: My lack of blogging does not mean we haven't been busy.  I bought fairly low cost curtains (thank you Walmart) for the living room and kitchen (and made curtains for above the sink), we hung and reused the Hunter Douglas blinds my parents had on their old bay window and placed them in our bedroom, did some thrifting and found a "close enough" match on the blind that was missing upstairs for $3.00 vs. the $80 we were getting ready to spend. 
 
Window treatments are expensive!  With some scavenging and spending time to look for good deals what could have cost us easily over $200 plus, we did for under $100.  Yay for saving money.  
 

Sunday, October 19, 2014

Honey-Do List

So I don't necessarily consider myself lazy...and Jesse is far far from being lazy, but it is crazy how much time a "simple" renovation takes.  You start on one project, only to find another one that needs taken care of as you are fixing the first problem.  Needless to say, this whole house remodeling thing is taking longer than anticipated.
Bella lending a "helping" paw working
on window treatments

I put up window curtains to show off our cool wood windows and realize how filthy the glass is on the outside and how all the trim needs to be painted.  We start to take down wall paper and it tears up all the dry wall underneath... We think putting up a few walls to separate the laundry area from the bedroom area downstairs will be fairly simple and then run into all sorts of building permit problems and are still waiting for answers. 

Regardless, it is still fun fixing up our home and are learning so much in the process!  I never realized what a handy man I married.  I am not sure if this a good or bad thing for Jesse.  Good because he has a super impressed wife.  Bad because I am going to be making a much bigger list of projects for him to complete :)

Check out my latest find at the local thrift store.  How cute are these lights for $5?!


Let there be light!  Of course there is a big red spot of paint showing where the last owners painted around the old fixture which now needs painted over, but who cares when you have a cool new light fixture?
 

Tuesday, September 16, 2014

Miracle Couch


The weekend after we moved into our new house, I found this great looking couch on Craigslist for the awesome price of $150.00!  After driving an hr. into Fort Collins to pick it up, the owner decided to even take off $10.00 because it was a little dirty/barely noticeable (he insisted) ...Let's call this Miracle #1

Side note: There was a 19 year old poodle sleeping by the couch
when we arrived.  More amazing, it could still run circles around the
living room!


Miracle #2 was the task of fitting it inside our vehicle.  The seller was a real trooper and I believe took a liking to us because I don't know who else would spend as much time and effort along with us to figure out a way to make this fit like a puzzle into our escape.


1/2 inch bigger and this couch would belong
to another owner. 

Note to reader:  ALWAYS, ALWAYS measure things before buying and be realistic by the measurements. 

Jesse and I did pull out the tape measurer before driving into town to pick up the couch.  It was longer than I wanted, but convinced myself we could make it work one way or the other...maybe just reposition it differently than I had pictured in my mind...right?  Maybe the guy measured it wrong and it really could fit into the corner like I had envisioned...after all, it was only $140... Sure, Teresa, wishful thinking.

I must have the most amazing and patient husband around because after we hauled the couch inside, had an O' Crap moment when I realized that it indeed WAS the size he measured and it DID NOT look good taking up our entire living room simply being repositioned, he opted to try another method...a crazy method.


Miracle #3: That our crazy idea actually worked.  We pulled away fabric, sawed the couch in half, reconstructed the corner, re-attached the fabric, created a new pillow and "Wallah" - a brand new custom built couch that fits likes perfection into the corner window of our house. 


Before


During
 
 
Almost Done...
 
 
The Finished Product...not too shabby :)